Choosing the Right Printing Method: A Guide to Custom Merchandise
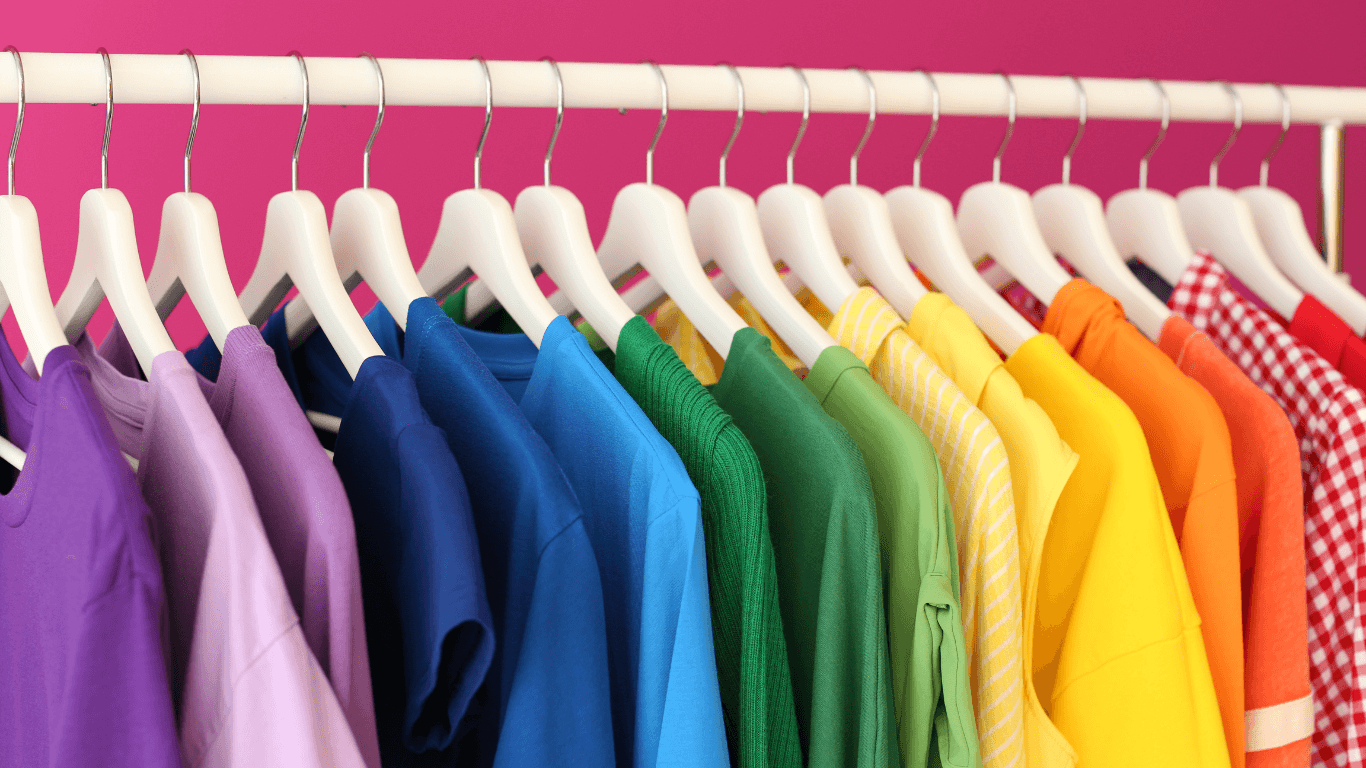
When designing custom merchandise for your office, team, or clients, you want it to feel unique to your brand. After all, it’s like a wearable business card. One look at your custom T-shirt or polo, and a stranger gets a sense of your brand name, purpose, and overall vibe. But with so many options for custom merchandise printing, how do you choose? We’re breaking down the six most popular printing methods to make your custom merchandise stand out.
What Are the Types of Custom Merchandise Printing?
Humans have come pretty far in printing on clothing. The oldest method was used in third-century China and involved a design carved into wood dipped in ink, and pressed into fabric. Not bad for a few millennia ago. These days, we’ve got a few more efficient, cost-effective, and durable methods.
6 types of custom merchandise printing:
- Screen printing
- Heat transfer
- Debossing/Embossing
- Laser engraving
- Embroidery
- Custom patches
Each printing method ranges in durability, color range, and versatility. By understanding the strengths and limitations of each method, you can find the best printing option for your custom merchandise.
A Breakdown of Customization Methods
When determining the best printing method for your brand, it helps to know what you’re getting, how the process works, and the best merchandise for each method.
1. Screen Printing
One of the most versatile methods for custom merchandise, screen printing involves using a stencil and ink to apply the design to the fabric. It’s a commonly used method due to its affordability and easy customization.
The Process:
- Create the Design. Once you’ve chosen a design, a printer prints it onto a transparent acetate film that creates a stencil of your design.
- Prepare the Screen. The printer chooses the right type of screen to fit the needs of the chosen merchandise. Then, they coat the screen with a light-reactive emulsion.
- Expose the Screen. The design is applied to the mesh screen and exposed to bright light to harden the emulsion.
- Ink and Squeegee. The printer places a mesh screen onto the printing board. The ink will cover the top and fill in the gaps of the stencil, coating the screen. The printer uses a squeegee to push the ink along the stencil, ensuring a thorough coating.
- Dry and Finish. The mesh screen is passed through the dryer to cure the ink. The printer then quality-checks the merchandise and washes away any remaining residue.
Best uses for screen printing:
- Long-sleeved shirts
- Hoodies
- Stadium seats
- Tank tops
- Baby tees
Screen printing is a great option for printing large quantities of custom apparel. It also works well for dark-colored fabrics because of the ink’s vibrancy.
2. Heat Transfer
The heat transfer method works similarly to applying a decal to your office wall or ironing it onto a homemade T-shirt. You guessed it, heat is the key.
The process:
- Create the Design. Using a computer, a technician creates the design and prints it onto heat transfer paper.
- Load the Heat Press. The technician then places the merchandise on the heat press. The press stretches the fabric to ensure there are no wrinkles when the design is applied. The technician then places the transfer paper on the fabric where you want the design to go.
- Apply the Heat. The heat press closes, and that’s where the magic happens.
- Remove and Cool. After about 15 seconds, the technician lifts the press, showing the design. They can then remove the merchandise from the machine and set it aside to cool down.
Best uses for heat transfer:
- Sports apparel
- Tote bags
- Lunch bags
- Waist pack/ fanny packs
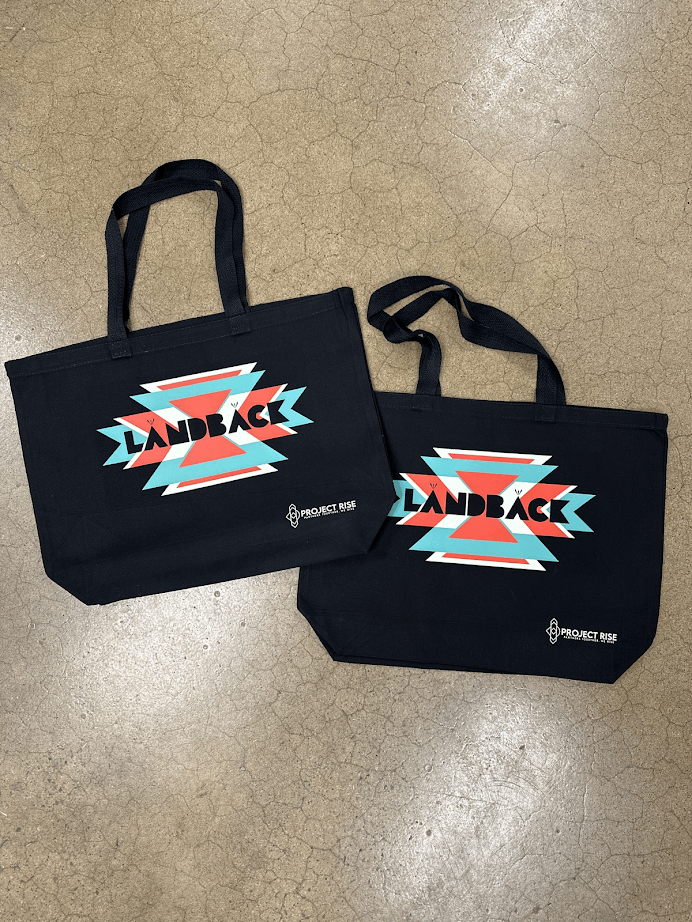
The heat transfer method gives you high-quality, vibrant images that look exactly how you envisioned them. It’s good for transferring photos onto merchandise or using multiple colors. The design won’t fade over time, making it a good option for apparel and merchandise you’ll use a lot.
3. Debossing/Embossing
You know when you feel the raised design when you rub your finger over a penny? That’s embossing. Debossing is just the opposite. It depresses the image so it sinks into the fabric. Both methods use heat and metal dies to imprint the design.
The embossing process:
- Create the Dies. The process starts with two metal dies (usually made from copper, brass, or magnesium). A technician forms the metal into a custom design.
- Load the Press. The technician inserts the fabric into the press, of which there are a few options. The clamshell press sandwiches the material between the two press plates. A straight stamp press feeds the material through, presses the dies, and releases it through the other side. The roll press uses two rollers to feed the material through and release it on the other side.
- Press the Fabric. The material presses while heated to a maximum of 200 degrees.
- Release the Press. Then, the technician can lift the press and remove the fabric. Your design is complete!
Debossing requires the same process as embossing minus one of the metal dies. Because it’s indenting the material, it only needs one metal plate.
Best uses for embossing/debossing:
- Leather apparel
- Luggage tags
- Leather journals
- Purses or bags
Embossing or debossing adds a unique, textured feel to any merchandise. You can combine this method with colors to create a professional-looking 3-D style.
4. Laser Engraving
Laser engraving is similar to embossing in that it affects the texture of the material. In this method, the lasers burn away areas of the material to create the design.
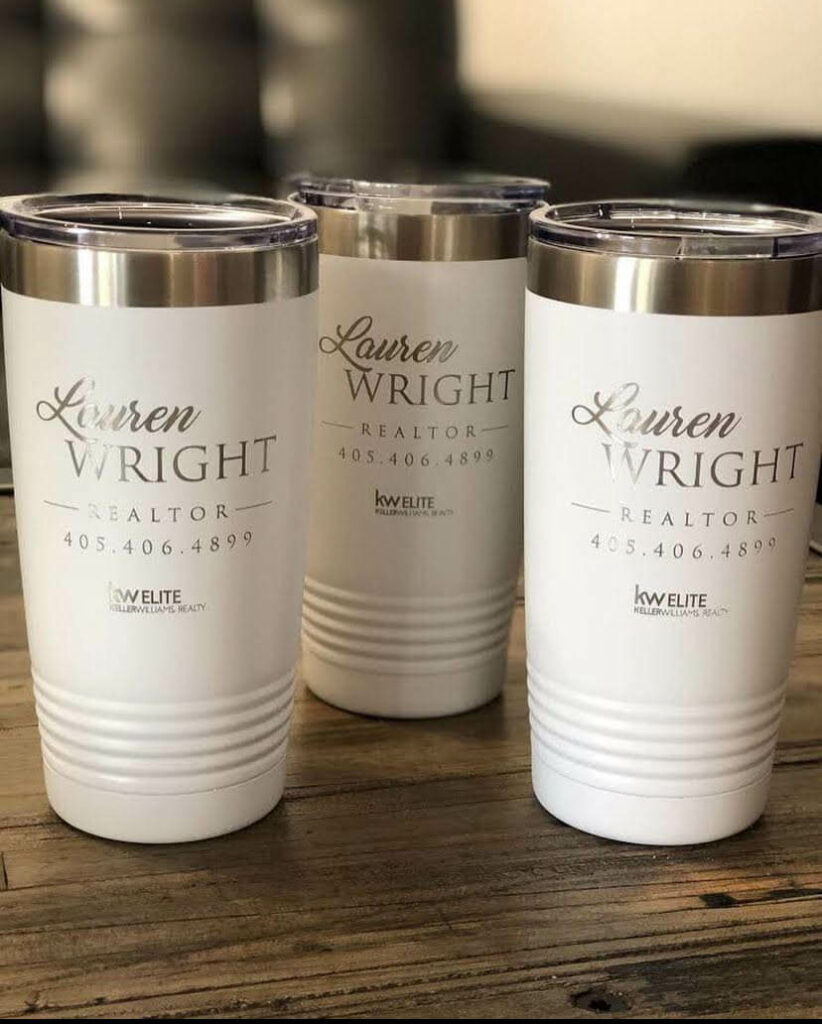
The process:
- Prepare the Fabric. The technician uses a pencil to mark the area of the material where you want the design, allowing them to position it correctly. The material should lay as flat as possible in the laser machine. It can be held down using tape, magnets, or the machine itself.
- Start the Laser. The laser engraves the design into the material by burning it in the shape of the design.
Best uses for laser engraving:
- Tumblers
- Wine glasses
- Beer mug
- Metal keychains
- Metal pens
Laser engraving works best for material colors with high contrast, so you can better see the design. It’s great for designs with intricate details, even smaller promotional products, because of how small the laser can get.
5. Embroidery
A tried and true method, embroidery uses needle and thread to apply the design. It’s a timeless way to add color and texture to your merchandise.
The process:
- Hand Embroidery. This method requires using a needle and thread to sew the design by hand. It’s much more time-consuming but good for designs with intricate details.
- Machine Embroidery. Efficient and cost-effective, machine embroidery is good for large quantities of apparel or merchandise. A sewing machine embroidery straight into the fabric for a smooth, comfortable finish.
Best uses for embroidery:
- Polos
- Blanket
- Towels
- Vests
- Sweatshirts
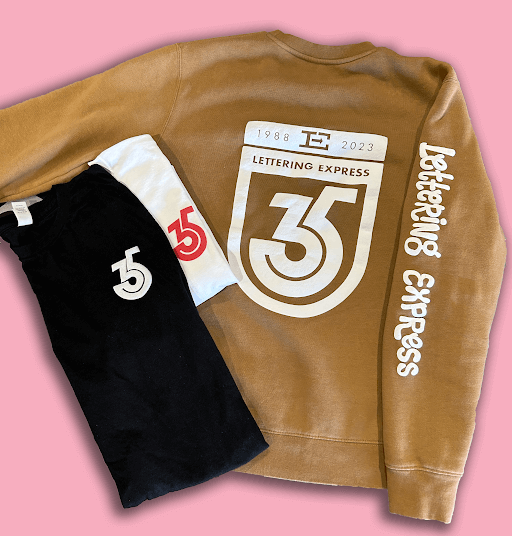
Embroidery embeds the thread into the merchandise rather than sitting on top of it, so it often lasts longer than other methods. It gives a high-quality feel to your merchandise that your team or clients will appreciate. Because of the detail and work required for embroidery, it’s typically best for small runs of products that are intended for long-term use.
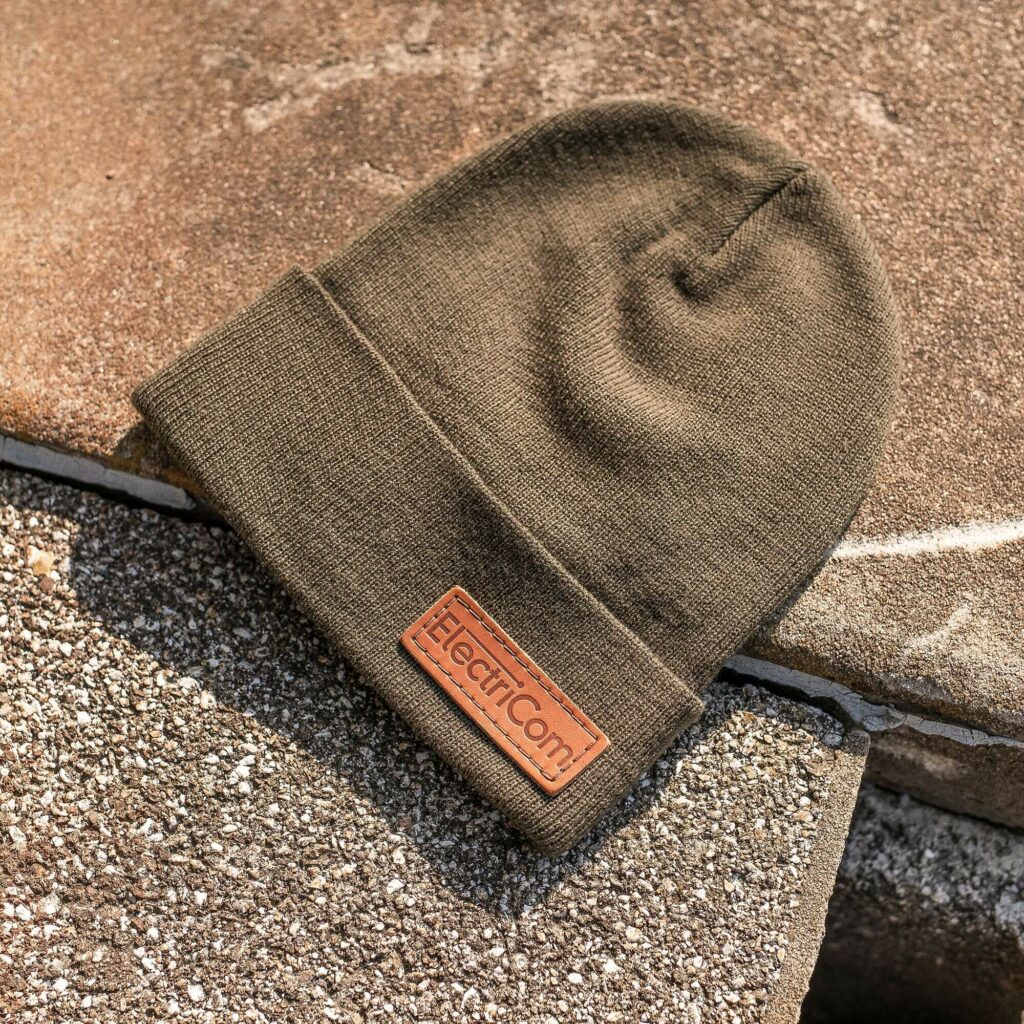
6. Custom Patches
Custom patches are an easy way to add personalization to your merchandise. Patches use other methods like screen printing or embroidery to create the look. Then, you can apply them anywhere you want.
The process:
- Arrange the Patch. Decide where you want to apply the patch on your apparel or merchandise and place it on the area face up.
- Apply Heat. An iron presses down on the patch, securing the glue on the back of the patch to the fabric. Then, you turn the merchandise inside out and repeat the process. Your patch seals to the fabric!
Best uses for patches:
- Backpacks
- Hats
- Bags
- Jackets
Patches are a popular method for personalizing your merchandise. You can put them anywhere you want to fit your vision.
Make a Statement with Custom Merchandise
When determining the best printing option for your custom merchandise, consider the style, colors, longevity, and personalization of your design. Whatever method you choose, your merchandise is sure to make a statement.
Lettering Express offers hundreds of high-quality products and printing expertise to serve all your custom merchandise needs. Our team works closely with yours to find the right printing methods and styles for your project based on your design specifications, budget, and any other details you provide. Give us a call today to create the merchandise you’ll be proud to wear.